From Crate to Cozy: Your First 48 Hours with a Sauna Kit
From delivery to first sit, this guide makes sauna kit setup simple: unbox and stage parts, assemble floor, walls, benches, and roof, book an electrician for hookup, run an empty burn-in, then enjoy a gentle inaugural round. Tips cover tools, sealing, alignment, and safe, sweet first heat.
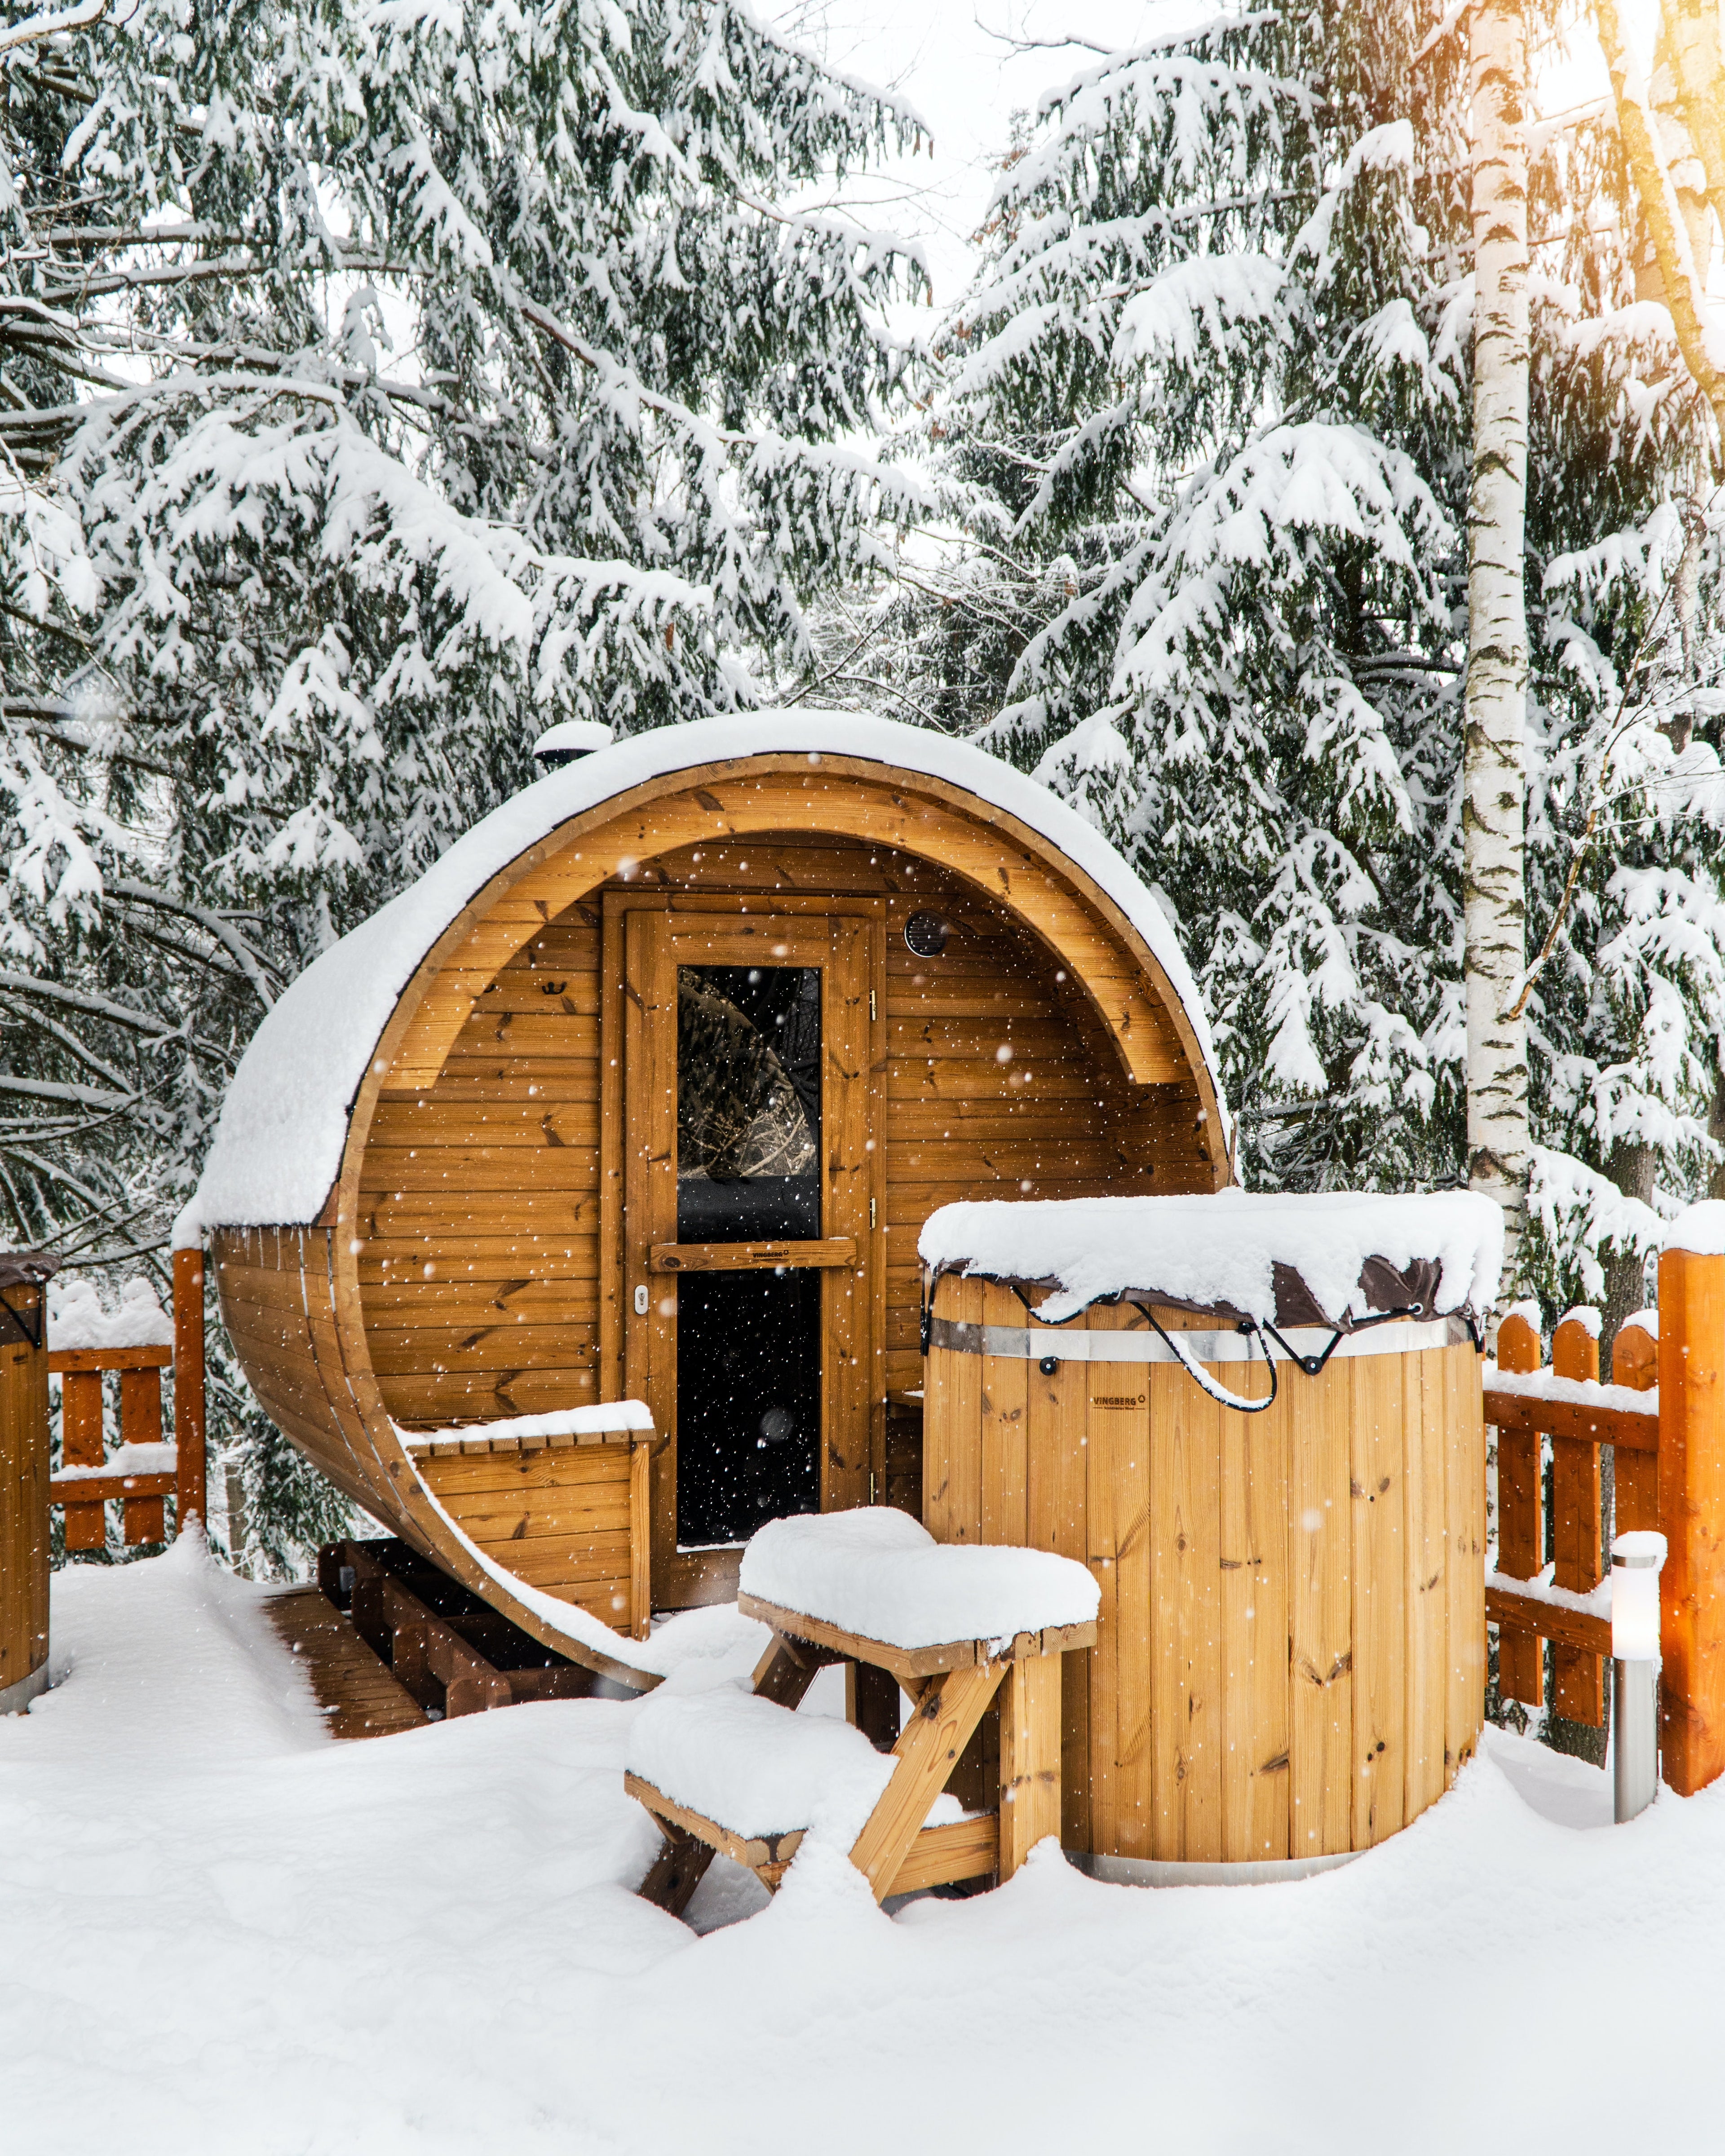
Uncrating a Honey Hut kit is the start of a sweet new ritual. This guide walks you through the first 48 hours—from delivery day to your inaugural sit—so you feel confident, organized, and ready to enjoy real heat without the guesswork.
Before Delivery: Quick Prep
- Clear the path: Reserve space for the crate and confirm access from driveway to build area.
- Base ready: Level pad, pavers, or deck framing rated for the load. Keep the door swing clear.
- Power plan: Schedule a licensed electrician for final hook-up. (No DIY wiring.)
- Tools & help: Socket set, rubber mallet, drill/driver, ladder, and at least one helper.
Day 1: Unbox & Stage
- Inspect & sort: Open carefully, check components, and group parts by section: floor, walls, benches, roof, hardware.
- Read-through: Review the assembly guide end-to-end. Mark steps that need two people.
- Dry layout: Place the floor and first wall sections to visualize fit and clearances.
Day 2: Assemble the Cabin
- Floor & walls: Set the base level, then interlock wall sections. Confirm door alignment.
- Benches & guards: Install bench supports, seating, and heater guards before the roof if the plan suggests.
- Roof & trim: Add roofing panels/shingles and exterior trim. Check all fasteners for snug fit.
- Final checks: Door gasket, window seals, and vent positions. Sweep out sawdust.
Heat-Up & First Sit
- Electrician connects power: Verify voltage, breaker size, and controller operation.
- Initial burn-in: Heat the sauna empty to operating temp to set wood and dissipate any new-wood odors.
- Sweet inaugural session: Start gentle—8–12 minutes—then cool on the porch. Hydrate and enjoy.
Tips for a Sweet Start
- Keep fasteners finger-tight until sections align, then snug down.
- Protect cedar with towels during assembly to avoid scuffs.
- Add a mat outside the door for safe footing.
Ready to Build Your Ritual?
Explore our sauna kits. From crate to cozy, you’ll have sweet heat in days—not weeks. Keyphrase: sauna kit assembly guide